FREE STANDARD SHIPPING FOR ORDERS OVER £90!🚚

0
Your Cart is Empty
FREE STANDARD SHIPPING FOR ORDERS OVER £90!🚚
FREE STANDARD SHIPPING FOR ORDERS OVER £90!🚚

Your Cart is Empty
FREE STANDARD SHIPPING FOR ORDERS OVER £90!🚚


November 06, 2023 5 min read
If you've ever found yourself in a sticky situation where your eyelash extension glue isn't cooperating, you're not alone! As Lash Artists, we all know that sometimes things don't go as planned, and lash glue troubles can be a common challenge. But here's a little secret: there are some easy methods and top lash glue tools that can help you rescue your precious eyelash extension glue and save the day! Let's unlock the secrets to flawless lash extensions!
Let's start with a quick fix that might just do the trick. Burping, in the context of eyelash extension application, refers to the process of releasing trapped air bubbles from your eyelash glue before using it on your client's lashes. Sometimes, these containers can trap air inside, which can affect the consistency and performance of your lash glue. Burping your eyelash extension glue is crucial for several reasons:
Consistency: Burping ensures that the eyelash glue maintains a consistent viscosity, making it easier to work with. This consistency is vital for creating uniform and long-lasting lash extensions.
Adhesive Bond: Removing air bubbles from your lash glue ensures that it adheres seamlessly to the natural lashes, reducing the risk of premature lash extension loss.
Control: By burping your lash glue, you have better control over the adhesive's flow, preventing it from running or spreading too quickly during application.
Client Comfort: Properly burped eyelash extension glue minimises the risk of irritation or allergic reactions for your clients, as trapped air can introduce contaminants.

Now that you understand the importance of burping, let's explore a simple step-by-step guide on how to burp your eyelash extension glue effectively:
Step 1: Gather your supplies - eyelash extension glue, clean lint-free lash glue wipes, a clean spare lash glue nozzle.
Step 2: Carefully open the glue container, avoiding any sudden movements that could release excess air.
Step 3: Using the eyelash glue nozzle, dispense a small amount of lash glue onto your clean, lint-free wipe. This initial squeeze removes any glue that may have accumulated at the nozzle's tip, which could contain air bubbles.
Step 4: Seal the lash glue container tightly to prevent air from entering. Gently squeeze the container to create a small amount of pressure inside. You'll likely hear a faint "burping" sound as the air escapes.
Step 5: After burping, check the eyelash glue's consistency by dispensing a small drop onto your wipe. It should flow smoothly and evenly without any visible air bubbles. With your glue now burped and ready, you can proceed with applying the eyelash extensions as usual.
Lash glue accelerators like Booster are a fantastic glue tool that can save you in a pinch. Booster works by gently opening up the hair cuticles of the natural lashes, allowing the eyelash glue to bond better. It also helps to speed up the drying time of your eyelash extension glue, which gives you more control over the bonding process. So you’ll not only improve the retention of your client’s eyelash extensions but also speed up your work to cut down on treatment times without compromising on quality!

Let’s move on to some of our top lash tools that are perfect for helping you rescue your eyelash extension glue in any sticky situation:
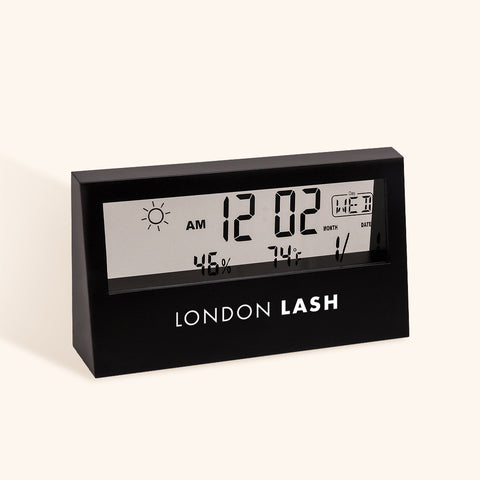
One of the secrets to conserving your eyelash extension glue is controlling the environment of your beauty room. Eyelash extension glue is sensitive to humidity and temperature, and changes in these conditions can affect its performance. Invest in a Digital Hygrometer & Thermometer to measure the humidity and temperature in your beauty room. Ideally, aim for a humidity level of 40-60%. Using a humidifier or dehumidifier as needed can help you maintain this range, ensuring that your lash glue stays in optimal condition.
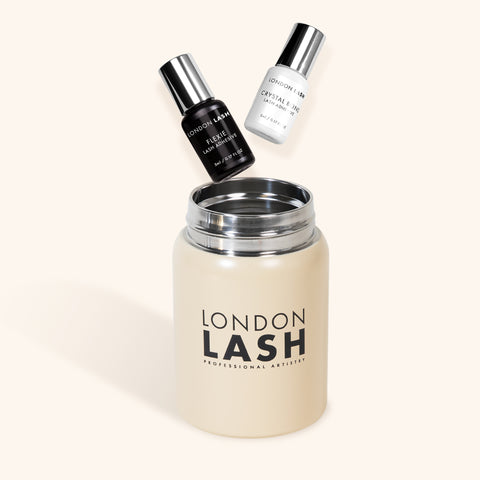
Ever faced the nightmare of dried-up lash glue because it wasn't stored properly? Then say hello to your new best friend, the Air Tight Glue Container! Proper storage is essential for extending the shelf life of your eyelash extension glue, reducing waste, and saving you money. Keep it in an airtight container to prevent air and moisture from sneaking into your lash glue bottle and wreaking havoc! The airtight seal prevents exposure to external elements that can cause your eyelash extension glue to deteriorate, keeping it fresh and ready for action. As an extra precaution, you could also keep a silica gel packet in the airtight container to absorb excess moisture. Store the airtight container in a cool, dark place, away from direct sunlight and extreme temperatures.
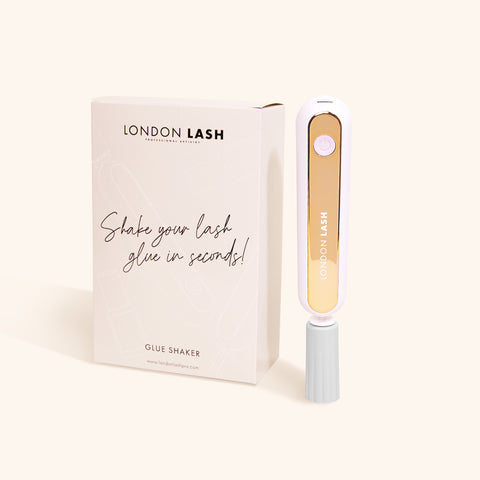
Have you ever noticed your eyelash extension glue getting a bit gloopy or separated? Sometimes, your lash glue can settle, leading to inconsistent performance. Enter the Lash Glue Shaker, your secret weapon! This handy device is designed to mix your eyelash extension glue evenly without introducing air bubbles and ensures an even distribution of eyelash glue, preventing clumps and inconsistencies during application. Using a Glue Shaker is also a great way to protect your well-being as a Lash Tech since you’ll no longer need to manually shake your eyelash glue before every drop application, which will help you to prevent developing any wrist strain from this repetitive motion. It’s also an excellent time-saver during treatments since a Glue Shaker only needs 15 seconds to shake the lash glue in order for it to be correctly mixed, compared to having to manually shake it for 60 seconds or more before it is mixed properly and ready for use.
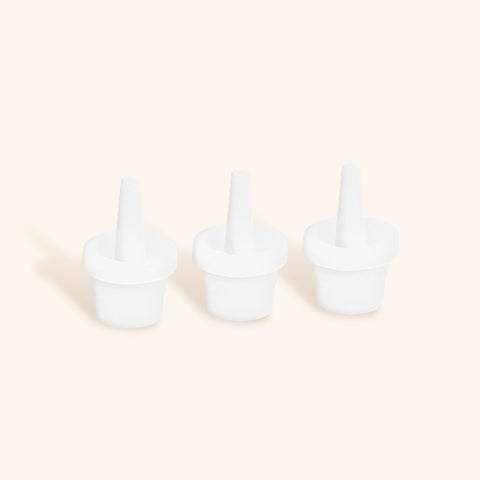
Blocked lash glue nozzles can be a Lash Artist's worst nightmare! Unfortunately we've all been there at some point – a clogged lash glue nozzle that ruins your flow. Fear not, because Replacement Glue Nozzles are here to save the day! Always keep some replacement glue nozzles on hand. If your nozzle gets clogged or the eyelash glue buildup becomes unbearable, to help you save time during your treatment, simply swap it out for a clean one. Clean nozzles ensure a consistent flow of lash extension glue, allowing you to create flawless eyelash extensions.
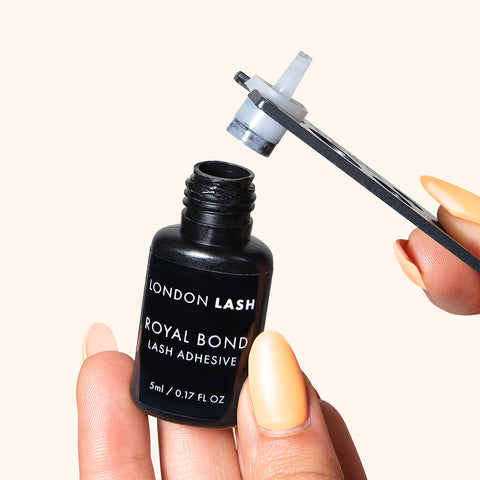
Ever encountered a stubborn glue bottle cap that just won't budge? Sometimes, lash glue can accumulate around the nozzle's opening, causing it to clog. This is why our Glue Nozzle Opener is a handy accessory to have in your lash extension kit! This tool provides a secure grip on the nozzle cap, making it easier to open even when the eyelash glue dries and sticks it shut. Carefully insert the opener into the nozzle's opening and twist gently to clear away any blockage. Easy peasy! No more damaged or cracked nozzle caps from forceful attempts at opening them.
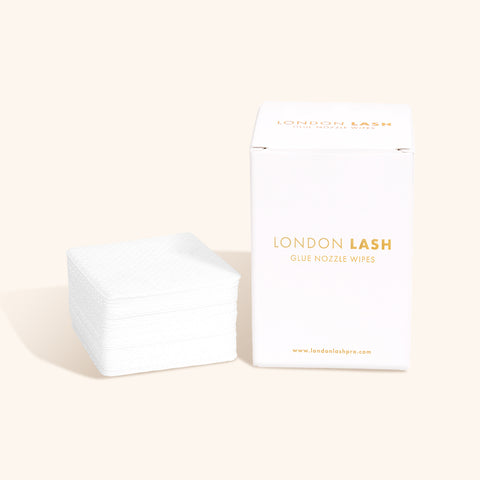
Precision is the name of the game in lash artistry, and Lint-free Glue Nozzle Wipes can help you achieve it. Keep a stash of lint-free wipes within arm's reach. These specialised wipes are designed to clean your lash glue nozzles without leaving any pesky lint fibres or residue behind. A clean nozzle means smooth, precise eyelash extension glue application every time. Gently clean the nozzle before and after each use. This ensures that your glue nozzle is debris-free and ready to deliver flawless extensions!
By combining these special methods and lash glue tools, you'll become a true Lash Tech wizard, ready to conquer any lash glue challenges that come your way. So, go ahead and make these lash tools your secret weapons for lash extension success. Your clients will be in awe of your flawless lash transformations!
Sign up to get the latest on sales, new releases and more …
