A Beginner's Guide to Speeding Up Your Lash Treatment
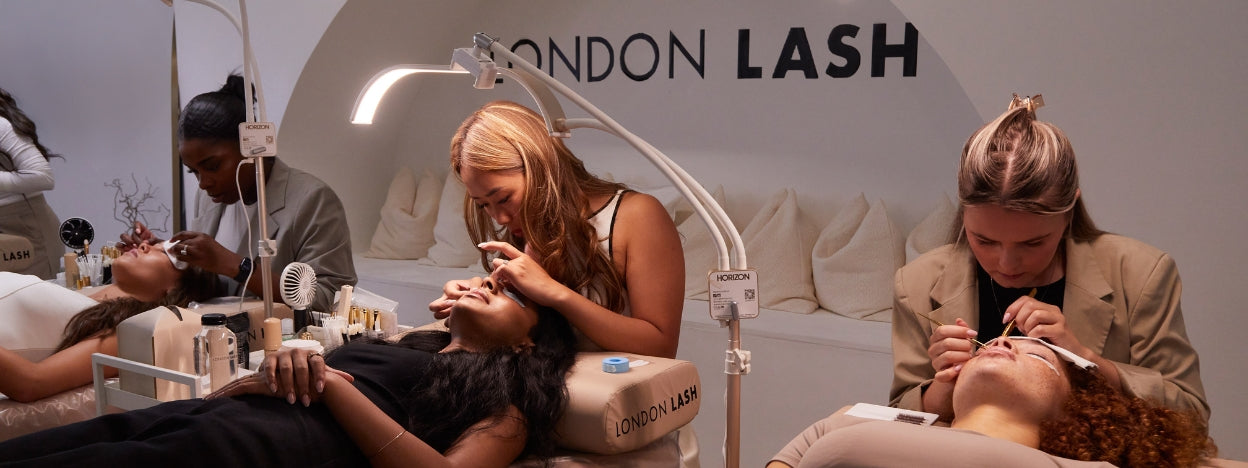

Table of Contents
How To Speed Up Your Lash Treatment
We're often asked how to lash a client faster, create a volume set in less time, or get faster at lash placement as a beginner. Before you swap to a more rapidly drying glue that might be too fast for you, we've put together a few of our top tips to help you speed up your eyelash extension treatment time.
Organisation is key to a faster lash set. Making sure your space is well organised and you have everything you need in place will take away any pre-appointment stress and ensure you can get started as soon as your client lies down.
What You'll Need
Lighting
The most important thing to consider before you begin any eyelash treatment is the lighting. You cannot do a full set of lashes if you can’t see those tiny baby lashes. We recommend using a bright white light. If the lighting has a yellow or orange glow, it makes it even more difficult to see tiny blonde hairs on clients with fair skin or hair, which can lead to dreaded stickies! Our favourite lights are lamps from Glamcor, which have a number of brightness settings for best results. They are definitely worth investing in.
Trolley and Storage
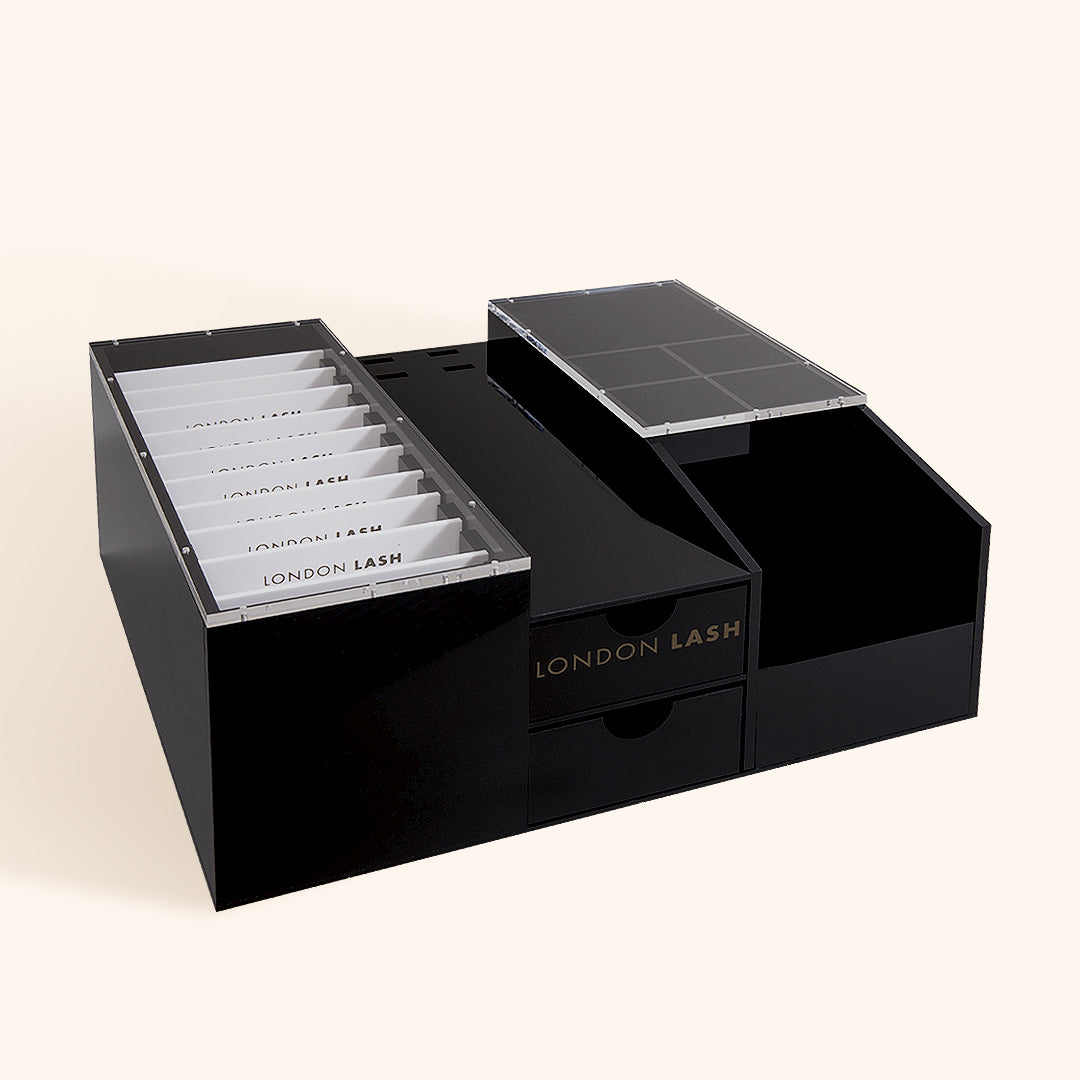
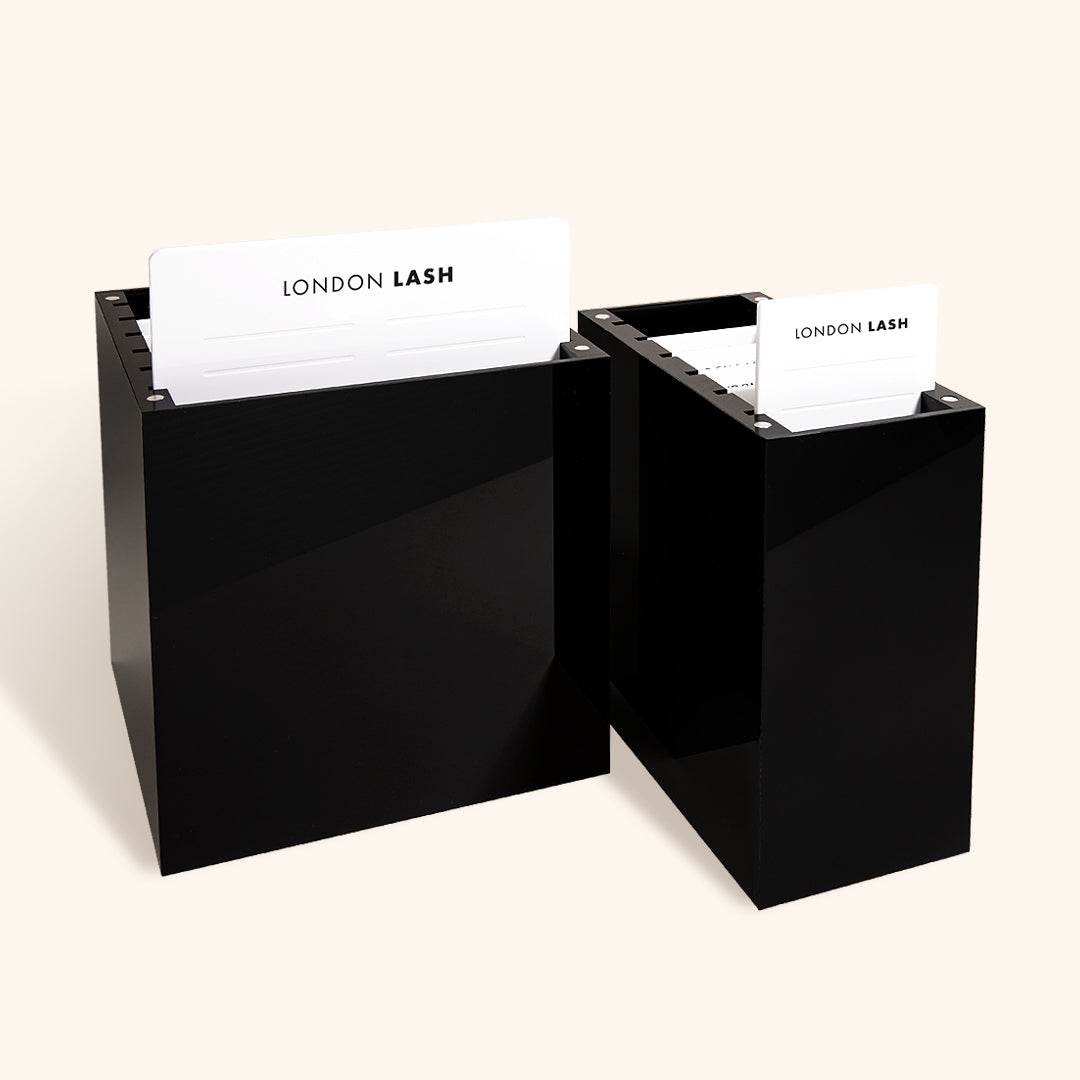
Next, make sure your trolley is well organised with only the products you will be using on the top shelf. If your trolley is cluttered, it is going to make it a lot harder to find the products you actually need. Anything you don’t need for the treatment, pop it on the shelves below so it is out of the way but still there if it turns out you need it! Whether that's Lash Palettes or a full Organiser, keep only what you need for each specific treatment within easy reach. This is why preparation is key.

Pay Attention to the Time
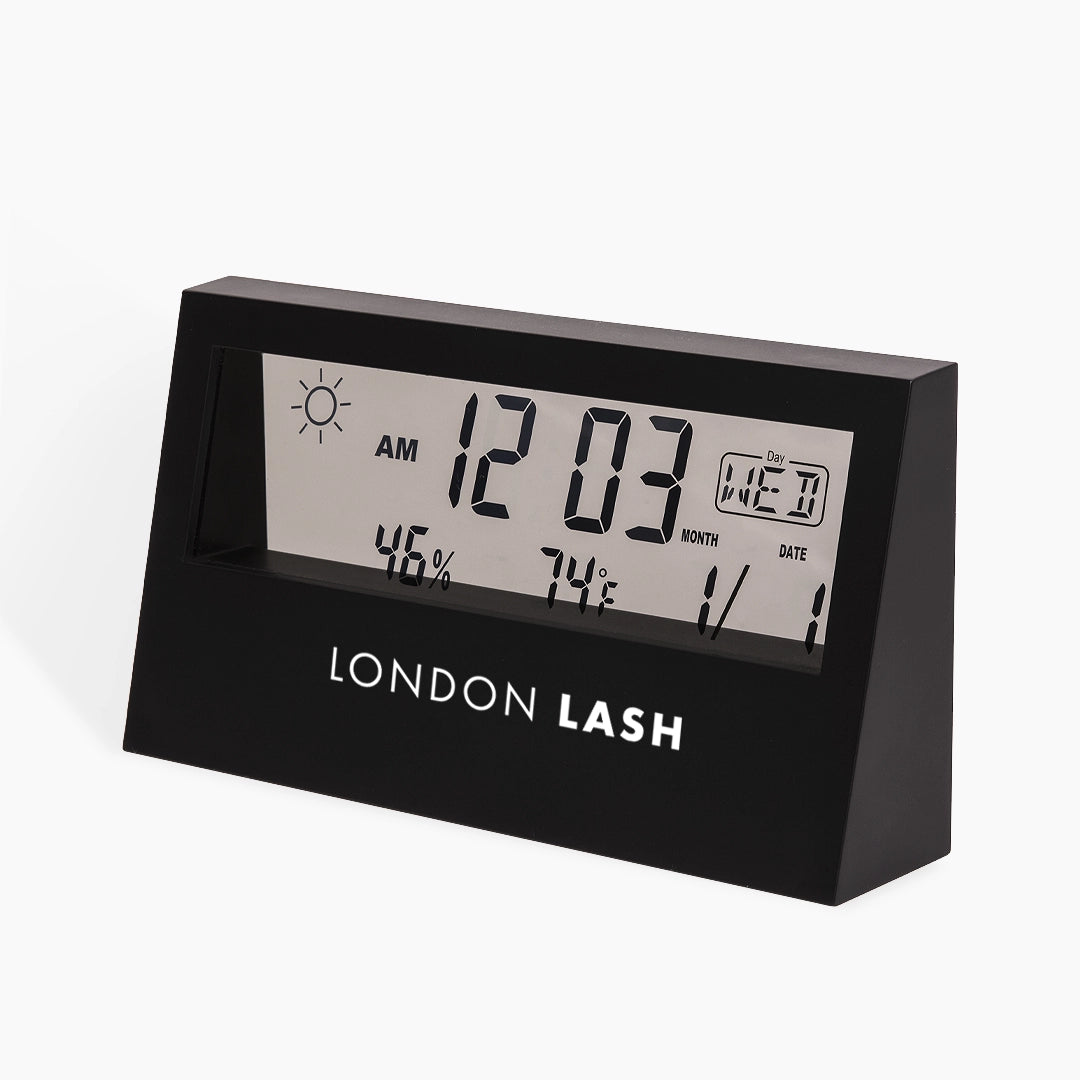
Finally, always ensure you have a clock nearby so you can track how long each stage takes. This way, you will know if you're on track or whether you need to speed up your work. A Digital Hygrometer will keep track of the time and help you monitor whether your room conditions are optimal for your lash glue, from temperature to humidity. It's the perfect 3-in-1.
Prepare Your Client Well
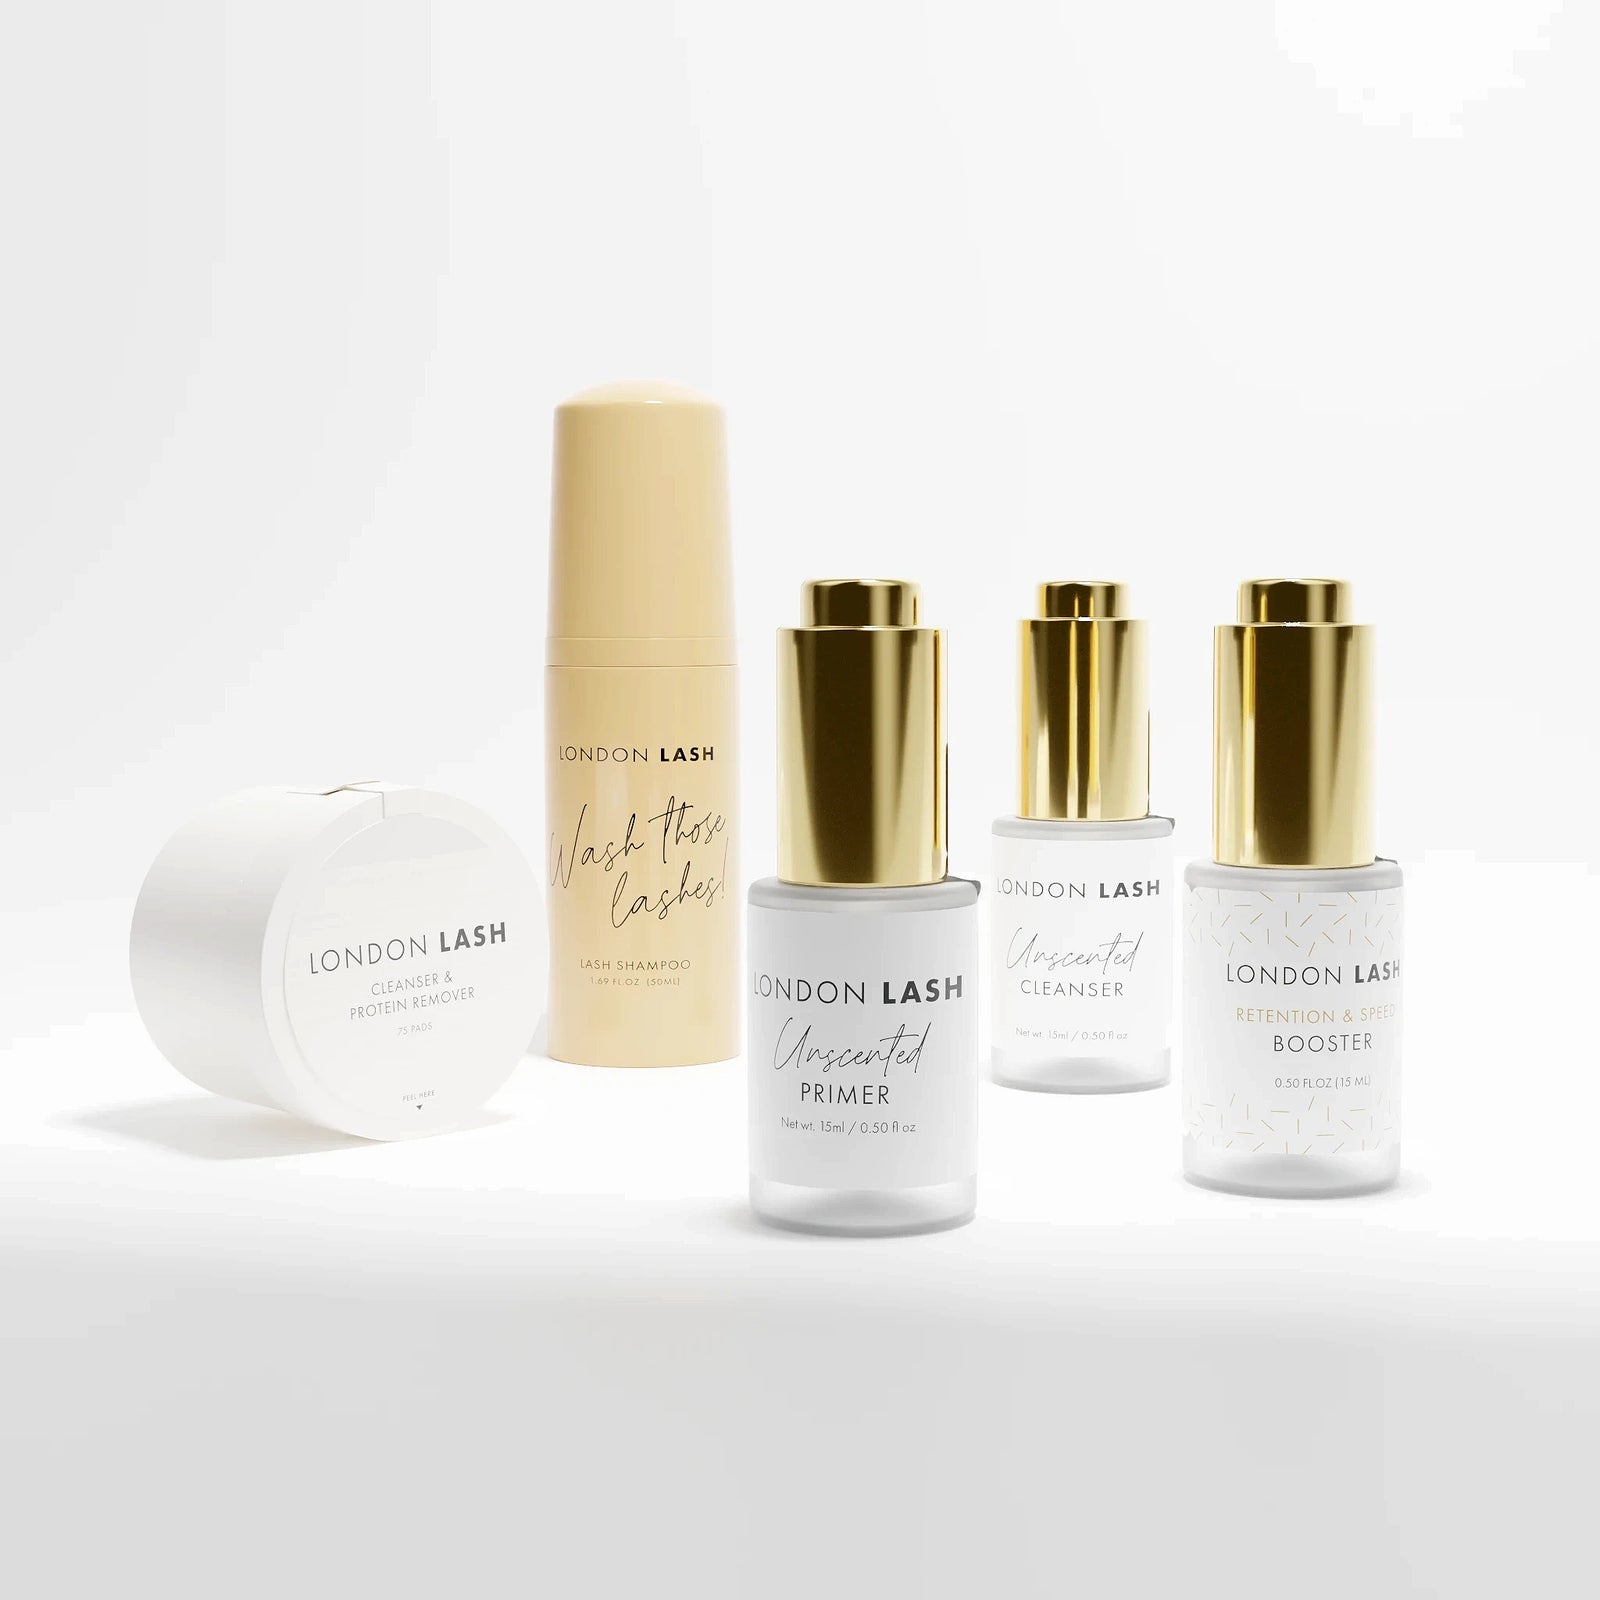
Ask your client to come with absolutely no eye makeup on. You don’t want to waste valuable time removing mascara and glittery eyeshadow. If they do arrive with makeup on, it's not a bad idea to give them the bottle of Foam Cleanser and send them off to the bathroom to cleanse their own lashes. It can be a little faster and more comfortable for them, as they can gauge how much pressure to use without it hurting.
Make sure your client goes to the bathroom before starting the eyelash application. There is nothing worse than having to stop for bathroom breaks when you’re on a mission to finish your set. Furthermore, your clients need to keep their eyes closed throughout the treatment to avoid glue fume exposure, so it's best to go to the bathroom before the treatment begins.
Let your client know to avoid caffeine and sugar for at least two hours prior to their appointment to help minimise eyelid flickering during the treatment. This can save you time, as you won't be losing their nicely isolated lash to a poorly timed eyelid flicker.
Applying the Lashes
By now, most of you will know how to apply lashes, but here are a few tips and tricks that might make your life a little easier and faster.
Start the application with the inner and outer corners, then fill in the middle. A lot of artists seem to miss the corners as they can be the most difficult part, but if you start with the tricky bits, you can finish with the easier sections, resulting in a beautiful full set.
Don’t complete one eye and then do the other. With lashing, symmetry is key, so whatever you do on one eye, repeat on the other. We recommend applying three or four lashes on one eye, then three or four lashes on the other.
Don’t spend too much time looking for the “perfect lash” to apply an extension to. This is very common with beginners, who can spend a lot of time trying to isolate the best lashes. Work systematically through the suitable natural lashes rather than spending too long deciding which one to do first.

Steps You Should Never Skip
Of course, we all want to speed up our work. Faster treatments mean the potential for more clients, after all, but we should never cut corners! Never skip these steps:
Lash Mapping
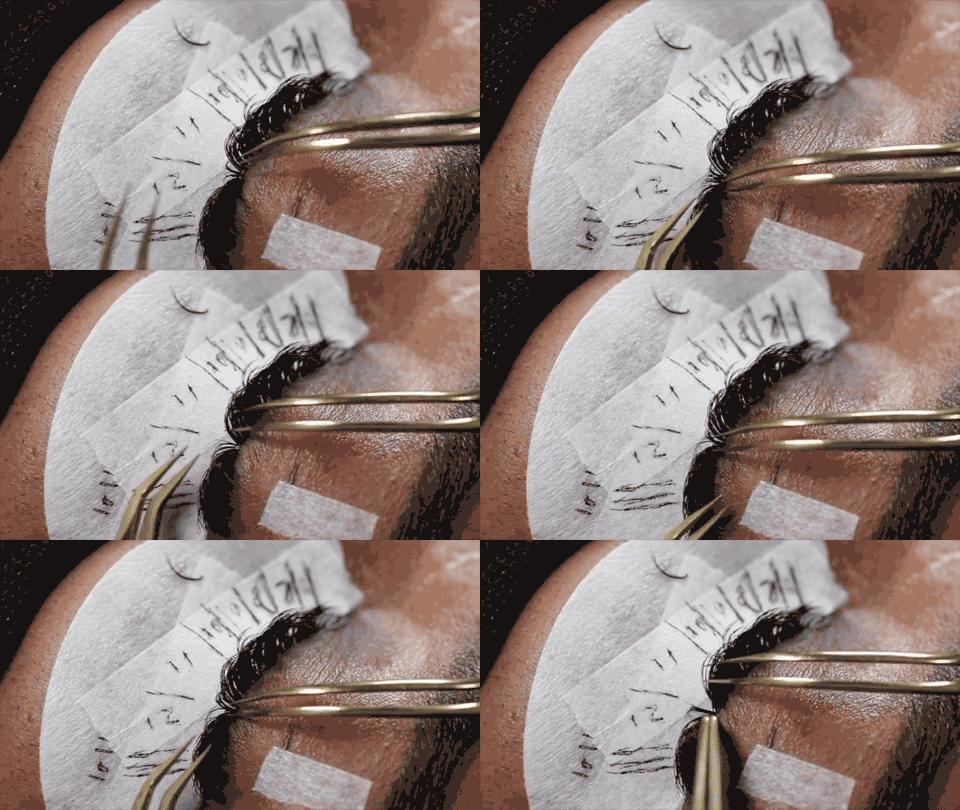
A lash map is vital to your symmetry and the overall look. Believe it or not, it will also save you time when picking up the extensions. “Which lash should I put here?” will no longer be a question you need to ask, as your lash map will tell you. Grab your Mapping Pen and plan away.
Pretreatment
“But my client already used the Foam Cleanser!” Great, they did the very first step. But we cannot stress enough the importance of an excellent and thorough Pretreatment Routine! It's all so well and good doing the bare minimum to save time, but how much time are you saving when your client comes back for another set three days later because their lashes fell off?
Checking for Stickies
Client safety and comfort come before a faster service, with no compromise. Ten to fifteen minutes should always be set aside at the end of your treatment to check your work for stickies. They happen very easily and can be damaging to the natural lashes, not to mention uncomfortable!
We hope this little guide helped you find ways to speed up your lash treatments while keeping client safety, comfort and the quality of your work at the forefront.
Check out these featured products