The Ultimate Guide to Removing Eyelash Extensions


How to Remove Lash Extensions
We all wish eyelash extensions lasted forever - wouldn’t it be great to have full, fluffy lashes 24/7? But unfortunately, after a number of weeks, your client will begin to lose their lash extensions through no fault of your own - it’s simply part of the natural lash growth cycle. There’s only so much magic Lash Technicians can do. For this reason, one thing we need to be prepared for is knowing how to remove eyelash extensions safely.
When eyelash extensions begin to fall out, this can result in them looking uneven, patchy and sparse. It’s always best to encourage your clients to book in for an infill before their lashes reach this point, however, some clients may only wish to get lash extensions applied for special occasions.
If the extensions are shedding prematurely, make sure to read all about this issue in our blog post detailing retention problems.

For clients who desire the removal of their lash extensions, it’s definitely worth encouraging them to return to your salon to get their lashes removed professionally once they have begun to shed. We’ve all seen the ‘How to remove eyelash extensions at home?’ articles circulating the internet, but this is not advisable! It’s much better for clients to have their extensions removed by a qualified Lash Technician with professional removal products, as opposed to using home remedies which don’t work to break down the eyelash adhesive and can cause damage through plucking at the natural lashes.
When Else Should a Lash Tech Remove Lashes?
As well as removing extensions when they begin to shed, there are of course other scenarios which might require you to remove a full set of lashes - namely, when a client is unhappy with the result. Whether the client has had their lashes applied elsewhere or you yourself applied them, you will likely find yourself removing a full set at some point within your lash career.
You may also have one of those dreaded situations where a client has an allergic reaction to the lash glue, and wants the lashes removed as a result. As much as we all hope this day won’t come, we do need to be prepared for it as an eventuality!
Which Products Do I Need to Remove Eyelash Extensions?
Now we know when and why a client might want their lashes to be removed, but what does a Lash Tech require to remove extensions in their lash kit?
There are some key products that make lash removal a breeze, including:
- A high quality Cream or Gel Remover
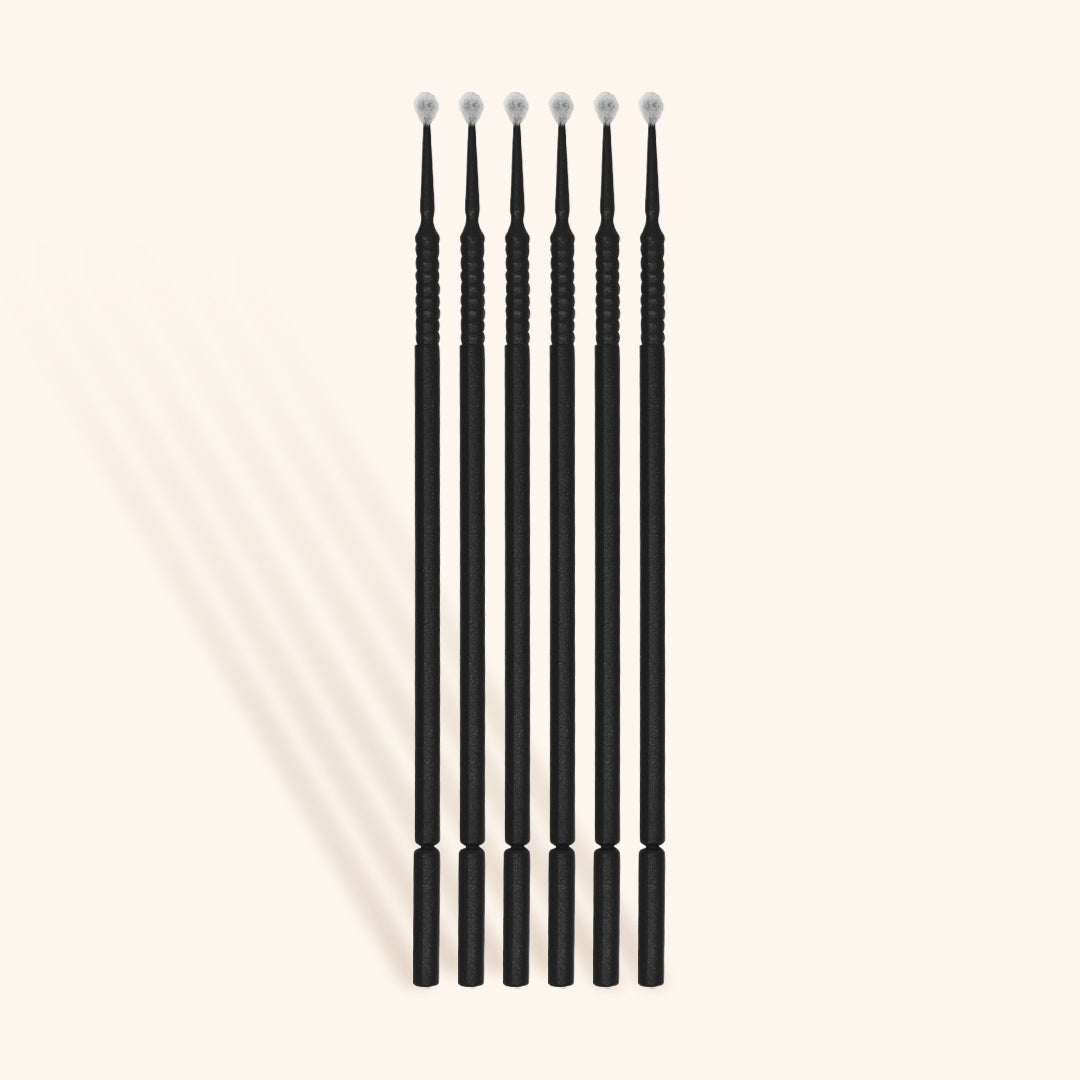
- Micro Brushes
- Under-Eye Patches
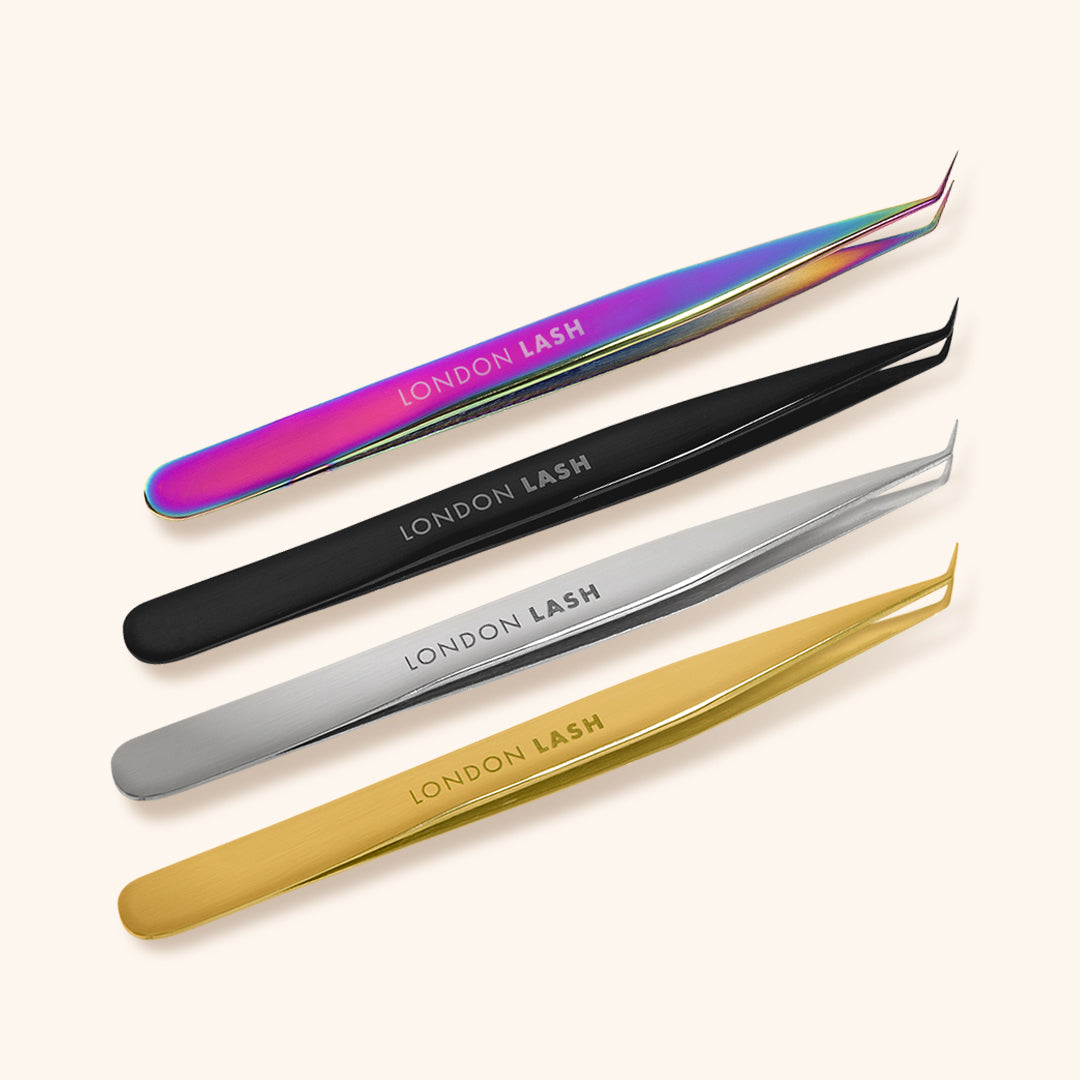
- Lash Tweezers

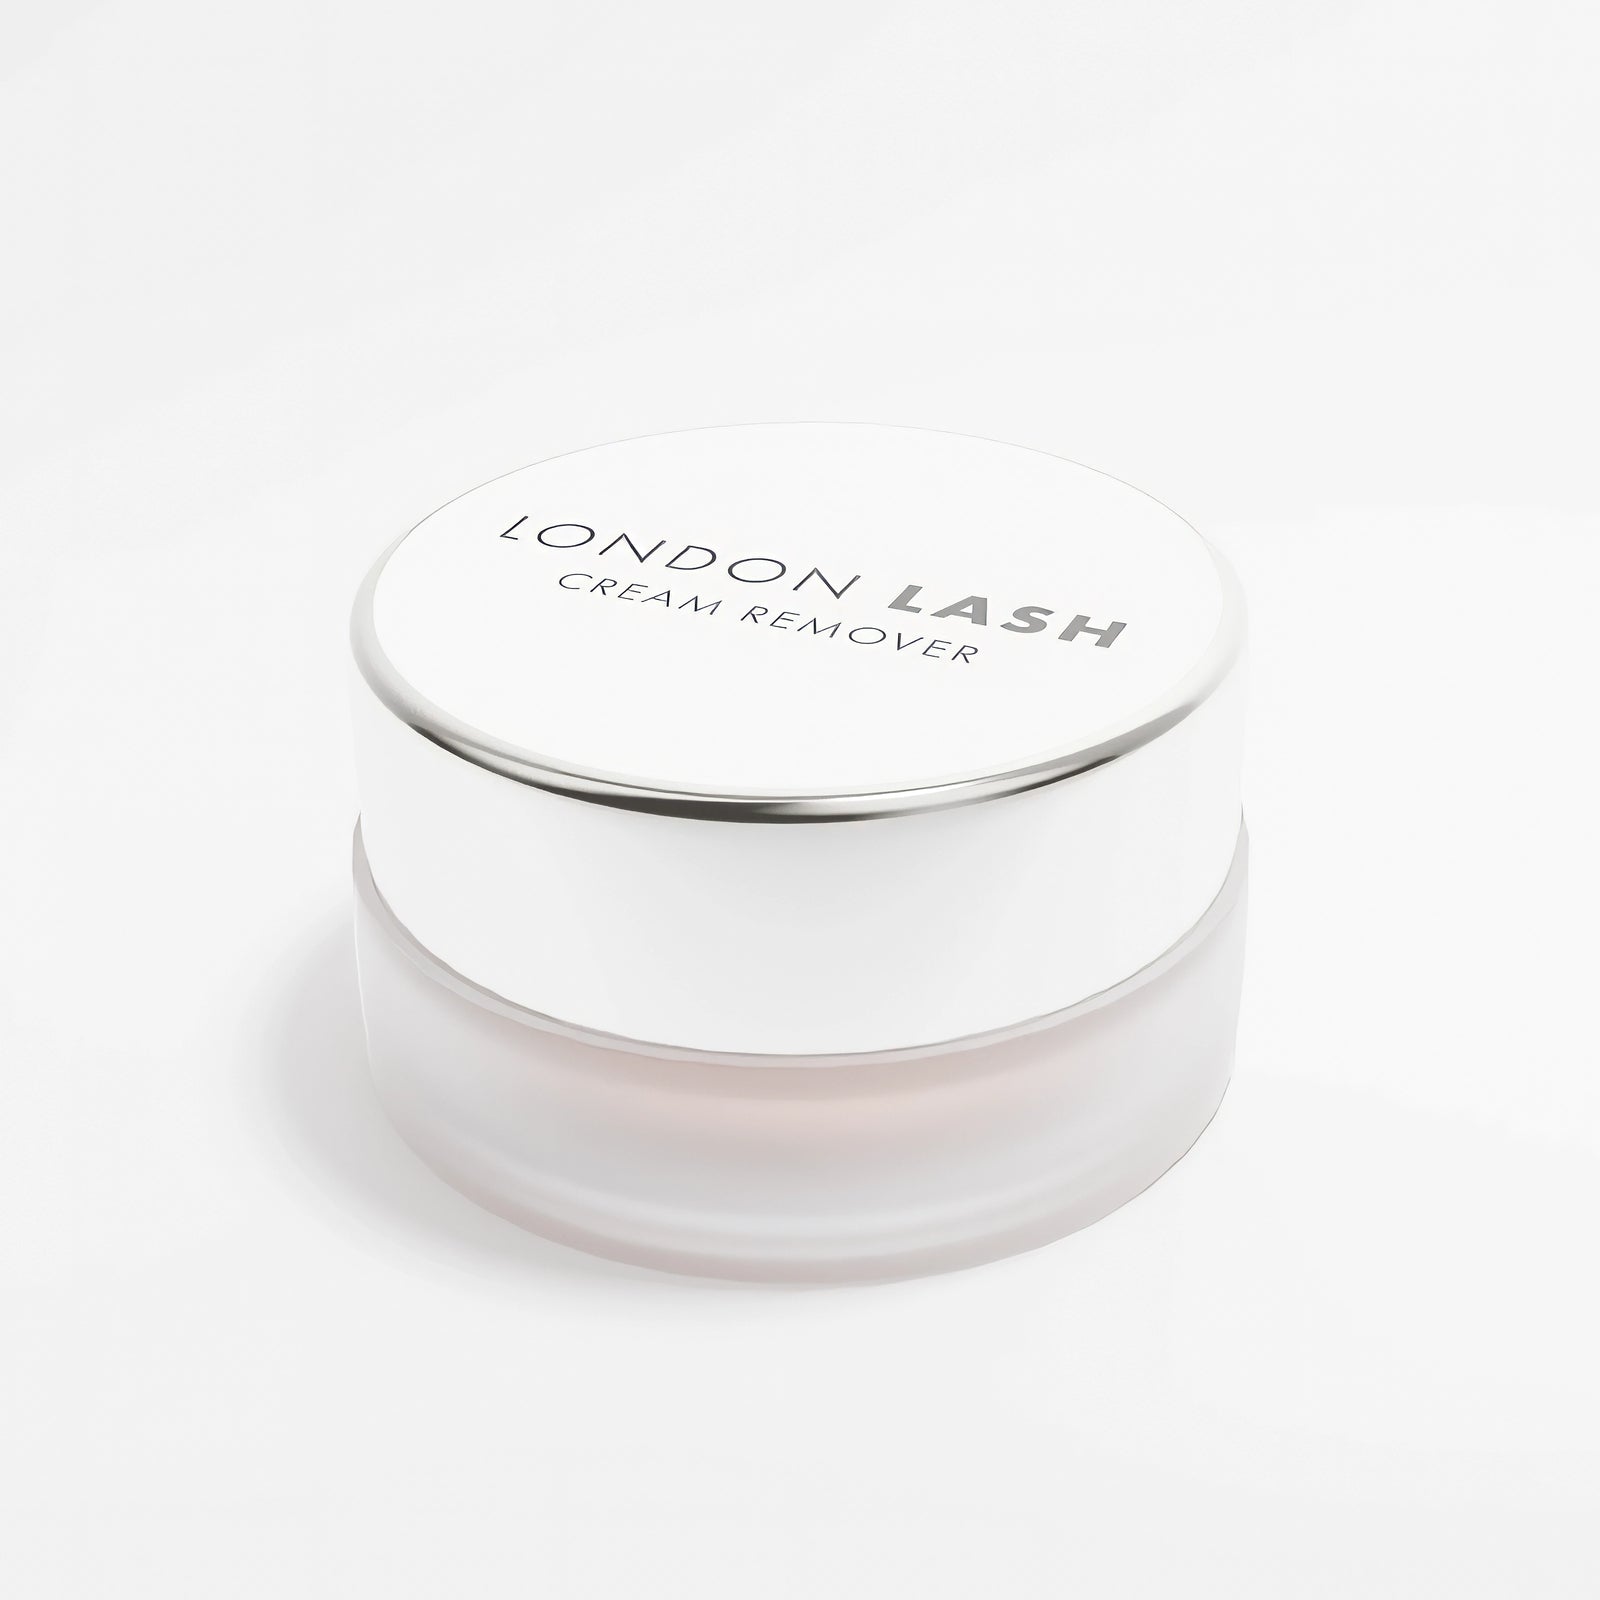
Cream Remover
Our Cream Eyelash Extensions Remover is a best-seller and it’s not hard to see why. This product soaks into the lash extensions and eyelash glue without any chance of seeping into the eyes, making it one of the safest ways to remove eyelashes. It’s the perfect removal product for clients with sensitive eyes. We’d also recommend this in those cases where the client is suffering an allergic reaction, or for any client when you’re a beginner Lash Tech.
Removal time varies depending on the amount of extensions being removed, how recent the lash set is and the amount of lash glue used during application, but generally, it will take around 20 minutes for this to do its work.

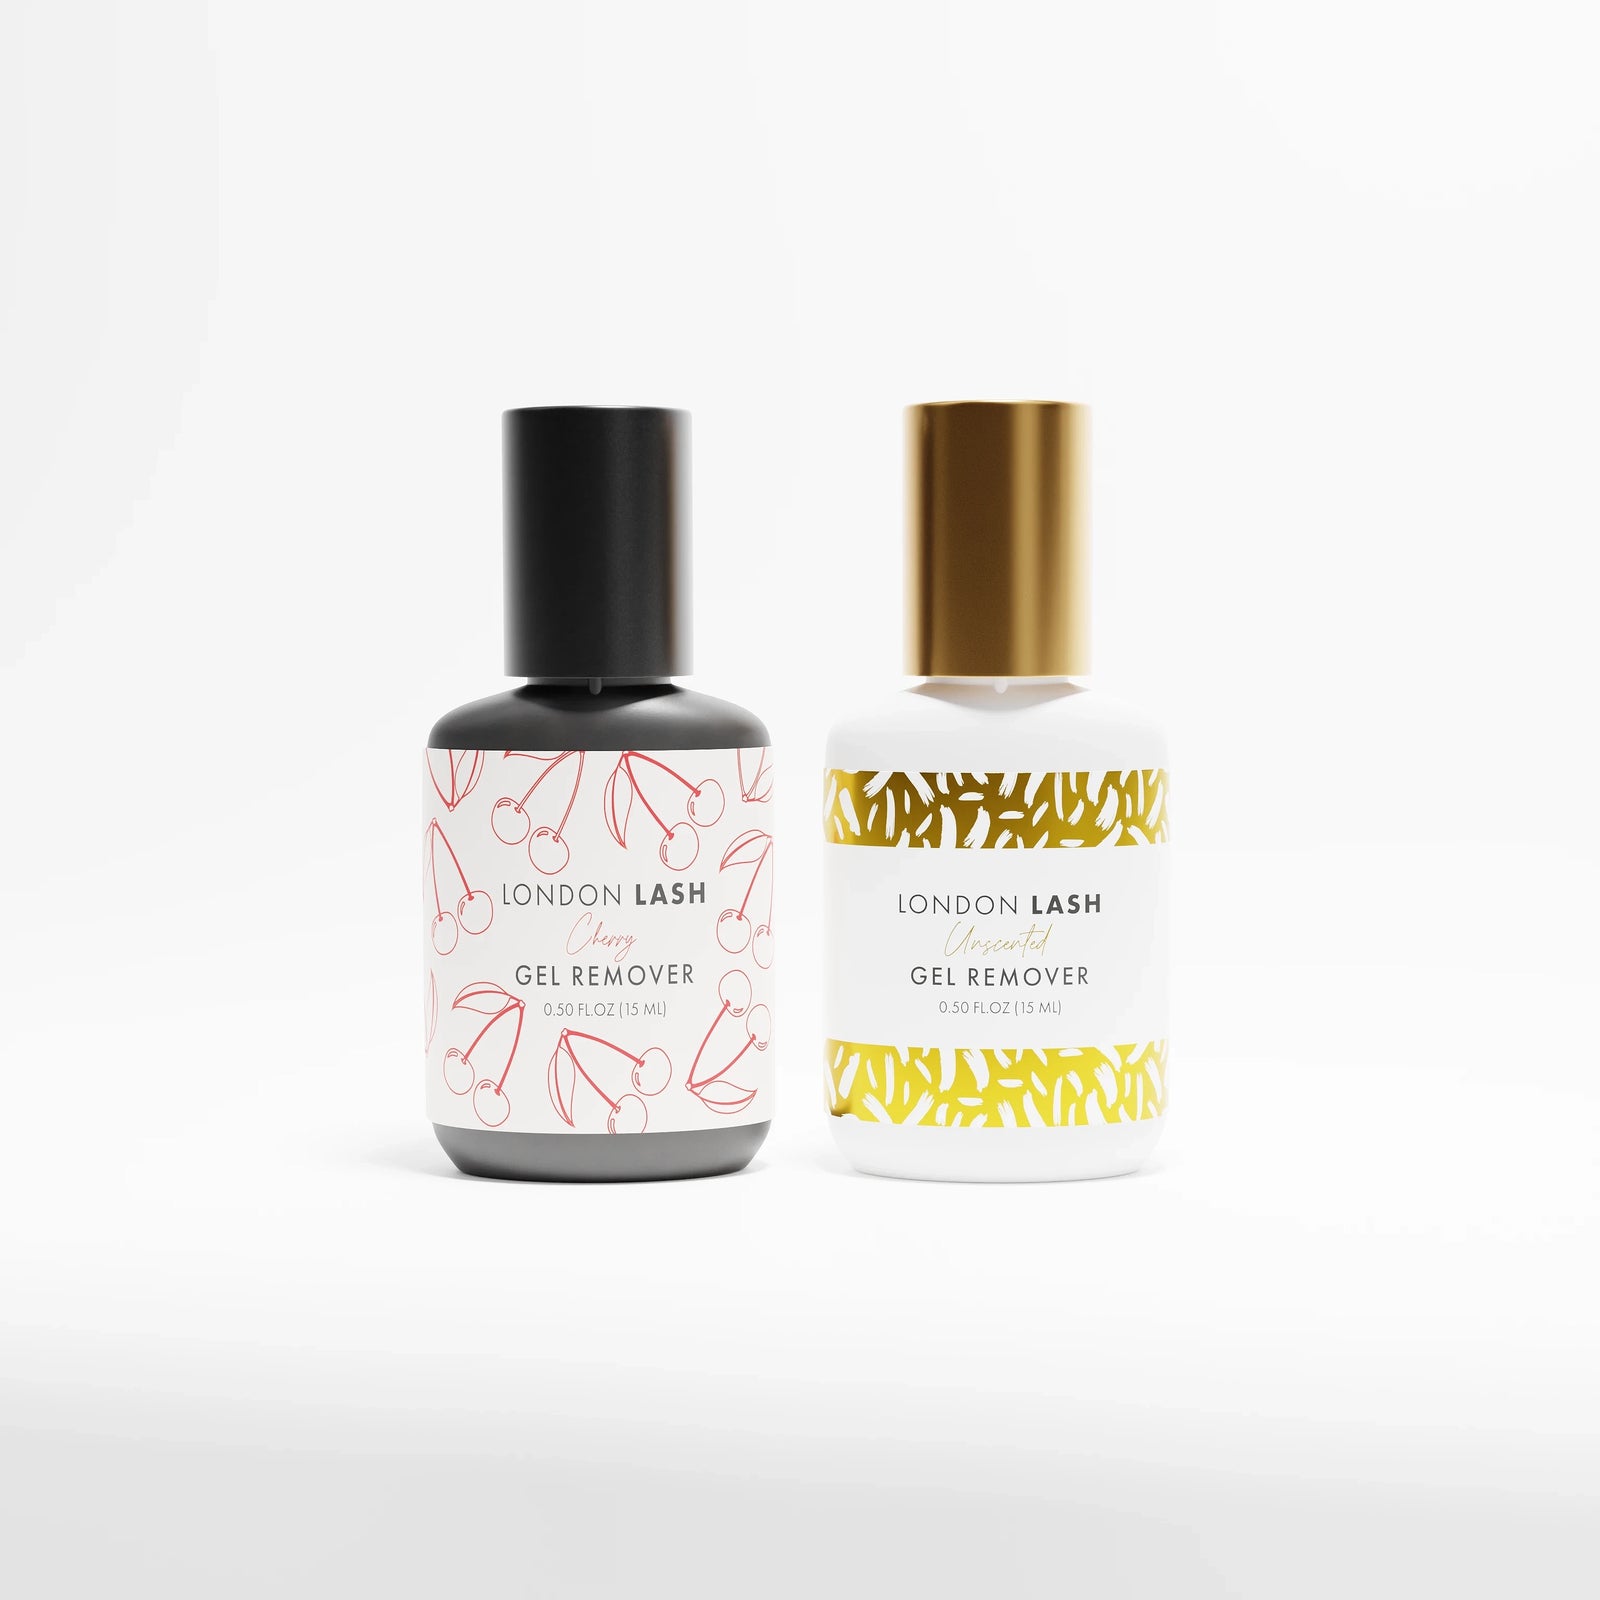
Gel Remover
Our Gel Eyelash Extensions Remover is equally as popular and effective but is most suited to advanced Lash Artists, since this product may run into the eyes if not applied correctly. This is one of the quickest ways to remove eyelash extensions and has a runnier texture than the Cream remover.
Even during infills, this product is perfect for removing single volume fans and classic extensions that you might struggle to remove with tweezers alone.

How to Remove Eyelash Extensions Safely
Once you’ve decided on your preferred Lash Remover it’s time to begin removing the extensions.
-
Step 1: Apply Eye Patches beneath the client’s eyes to ensure the sensitive skin surrounding the eye area is protected at all times. Use a Lash Mirror to check the underneath of your client's eyes, making sure they're fully closed as the remover re-activates the eyelash glue to produce glue fumes.
-
Step 2: If you have opted for the Cream Remover, use a Micro Brush to apply a generous amount of the product to the glue bonds. If you have opted for the Gel Remover, carefully squeeze a small amount of product to a brush and apply it to the glue bonds, ensuring that you avoid the skin.
-
Step 3: With the Cream Remover, leave the product on the extensions for 15-30 minutes, depending on the amount of extensions, how fresh the set is and the amount of lash adhesive used. With the Gel Remover, the product only needs to be on the extensions for 5-10 minutes.
-
Step 4: After waiting for the appropriate amount of time, begin to remove the extensions by either swiping off with a dry Micro Brush or using Tweezers to gently grip and pull the extensions.
-
Step 5: After removing the lashes and remover, ensure all glue residue is completely gone before cleansing the lashes with Protein Remover Pads.
So there we have it - the five key steps to removing lash extensions safely. It is key to educate your eyelash extension clients and offering this as part of your services so your clients can avoid and DIY lash damage at home.