

GLUES
LIQUIDS
BROWS
OTHER PRODUCTS
OUTLET
A Step by Step Guide to Lash Lifts
by Laura Brown March 03, 2023 4 min read
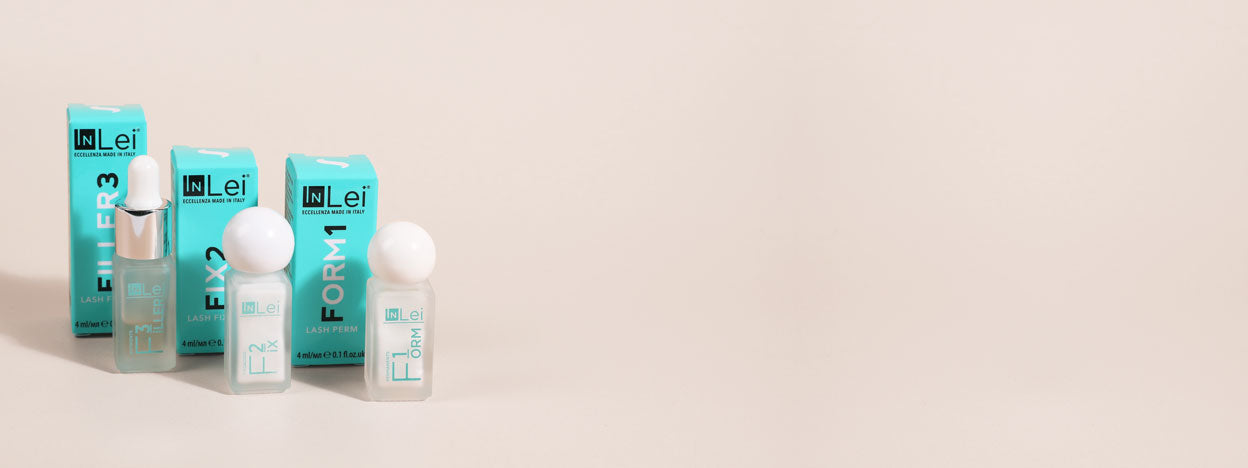

Table of Contents
A Step-by-Step Guide to Lash Lifts
No matter how long you’ve been in the industry, you’re sure to have heard of lash lifts, sometimes known as lash botox or lash lamination. InLei® lash lift products are designed to reshape the eyelashes, making them appear longer, thicker and more curled.
Lash Filler has the edge because it has been clinically tested at a prestigious university institute in Italy. It has been proven to increase the curl of natural lashes between appointments and increase lash thickness by up to 24% over the course of three treatments.
We’ve put together this step-by-step guide to InLei® Lash Filler so you can achieve a perfect lash lift every time.
Step 1: Prep
Before you start the Lash Filler treatment, clean the skin and eyelashes thoroughly. This ensures that the products can affect the hairs properly and are not blocked by leftover makeup, skincare residue or sebum.
Apply lash shampoo to the skin and lashes, then rinse thoroughly with cool water and pat dry.

Step 2: Apply Eyepatches and Shields
Eyepatches should be applied to protect the lower lashes in case any product is accidentally applied to them. If you intend to tint the lower lashes, you can move the patches later in the treatment and tint the lashes against them.
Choosing the correct shields can be tricky if you are not experienced. The natural lashes should cover at least two-thirds of the shield to achieve the correct lift. A shield that is too small can create kinks in the lashes, while one that is too large may not create enough lift.
For a guide to choosing the best shields for lash lift treatments, read this blog post. Alternatively, InLei® Forma Shields offer a quick and easy solution and are as close to a one-size-fits-all option as possible.
Attach the shields to the eyelids using Fixing Gel, then you are ready to lift the lashes onto them.
Step 3: Lift the Lashes
Work section by section, as the Fixing Gel may dry before you finish. Apply a small amount of Fixing Gel to one section of the shield and use the InLei® Fillering Tool to lift the lashes onto the shield, pulling them taut and straight upwards.
Use the InLei® Helper Tool to comb through the lashes and separate them. The tip of the Fillering Tool can be used to separate any stubborn lashes.
Once you have finished, move on to the next section. For very thick natural lashes, you may find it easier to apply the lashes to the shield in layers to ensure they are all properly lifted. If you need to apply more Fixing Gel, use only a very small amount so the lifting products can work effectively on all the lashes.

Step 4: Form 1
Form 1 has an alkaline pH, allowing it to open the hair cuticles and penetrate the inner layers of the hairs. This breaks the disulfide bonds, preparing them to be reformed later.
Take a small scoop of Form 1 from the bottle using a mixing stick and place it into a non-metal container. Use a thin brush to apply a neat, even line of Form 1 to the middle section of the lashes, avoiding the roots and tips.
The processing time depends on the thickness of the natural lashes:
- Thin hairs: 6–8 minutes
- Medium hairs: 8–10 minutes
- Thick hairs: 10–12 minutes
Time each eye accurately and separately to ensure proper lifting and avoid over-processing. Remove Form 1 with a dry cotton bud or lip applicator wand.
Step 5: Fix 2
At this stage, the hair cuticles are still open, allowing Fix 2 to penetrate and reform the broken disulfide bonds into their new shape. Take a small scoop of Fix 2 with a clean mixing stick and place it into a clean, non-metal container.
Fix 2 has a slightly acidic pH, which also begins to close the hair cuticle. Apply Fix 2 to the middle section of the lashes, covering the area where Form 1 was applied.
The processing time for Fix 2 should be half the processing time of Form 1, plus one minute:
- Thin hairs: 4–5 minutes
- Medium hairs: 5–6 minutes
- Thick hairs: 6–7 minutes
Time each eye accurately and remove the product at the end of the processing time using a dry cotton bud or lip applicator wand.

Step 6: Tint
Lash tinting is an optional step during a lash lift treatment. Your client may be happy with the lift alone. For blonde clients, tinting may require more regular upkeep than it does for clients with darker lashes, so discuss their preferences before treatment.
Mix a pea-sized amount of your chosen tint colour with an equal amount of tint developer. Mix thoroughly and apply to the lashes.
The longer the tint is left on the lashes, the more vibrant the shade will be. However, the maximum processing time should be the same as the Form 1 processing time.
Remove the tint as you did with the previous products, ensuring that no tint remains along the lash line before moving on to the next step.
Step 7: Filler 3
Dispense a couple of drops of Filler 3 into a clean, non-metal container and brush it onto the lashes.
Filler 3 will release the lashes from the Fixing Gel, but allow it to remain on the lashes against the shields for a while to nourish them.
Filler 3 remains on the lashes after the treatment, but you can use a brush to remove any excess.
Step 8: Finishing Up
Dampen a lip applicator with water and gently run it along the eyelid behind the shield. Carefully remove the shields from the eyelids. It is useful to have a microbrush available in case any lashes are still stuck to the shield.
Use two lip applicators to sandwich the lashes and brush away any surplus Filler 3 or leftover Fixing Gel. Then use two F-Brushes to help dry and fluff up the lashes before taking photographs for your social media.

A lash lift using InLei® Lash Filler should be repeated every six weeks or so to keep the lashes looking lifted. Advise clients to avoid sleeping directly on their face, getting their lashes wet or wearing mascara for 24 hours after treatment. They should also gently cleanse any makeup from the lashes using a gentle foam cleanser.
Check out these featured products

£151.99
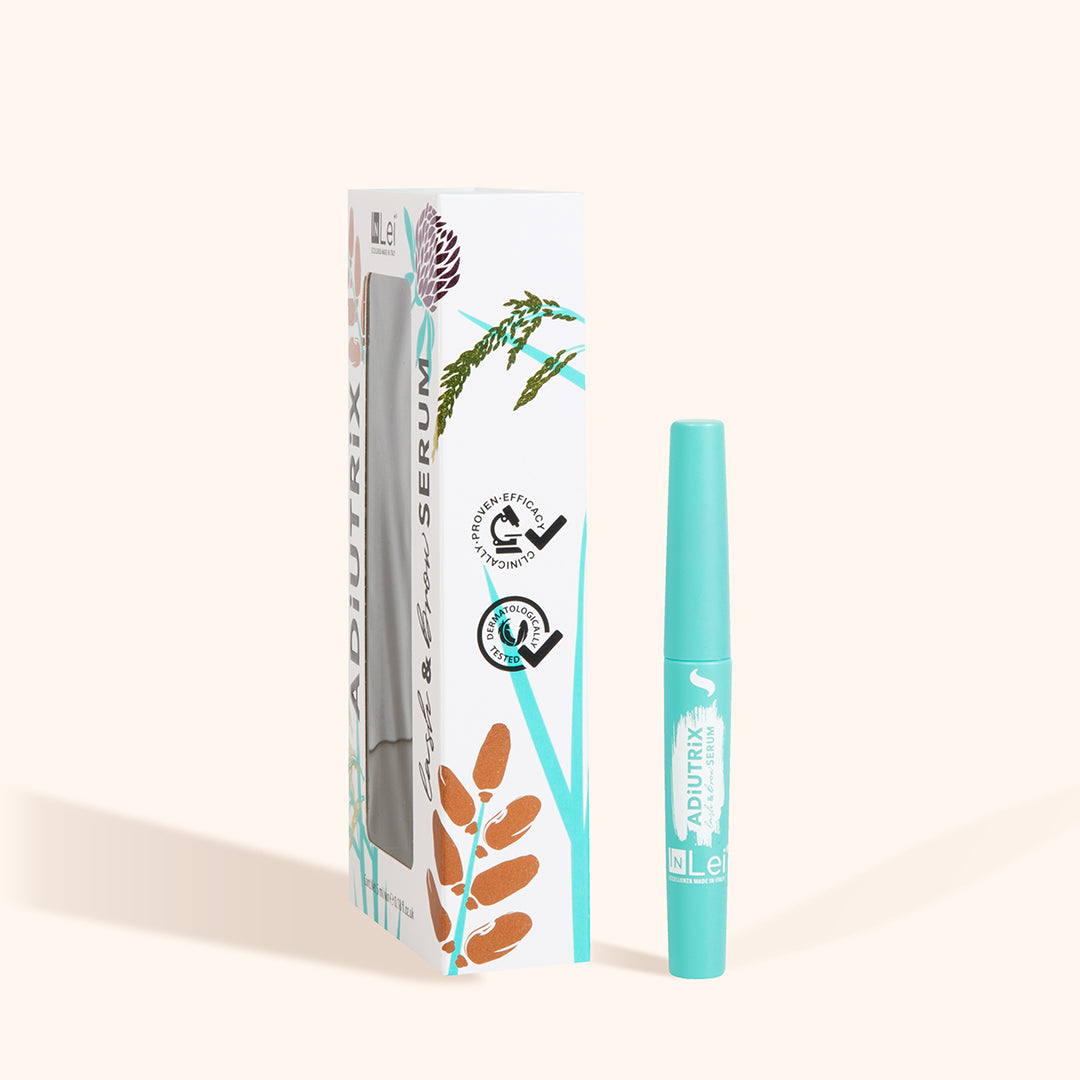

InLei Adiutrix Lash and Brow Serum
5 reviews
£44.99

Carbon-neutral shipping on all orders
51494kg
shipping emissions removed
That's like...
131823
miles driven by an average gasoline-powered car