Top 3 Tips For The Perfect Lash Lift


Table of Contents
How To Lash Lift & Build The Perfect Lash Lift Kit
Lash Lifts are a simple, fast and a pretty low maintenance way to enhance your client's eyelashes. It's no wonder this beauty treatment is rapidly growing in as one of the most popular eyelash enhancing procedures. We're here to let you know about the simplicity of creating the perfect lash lift, alongside building your very own lash lift kit.

What is A Lash Lift?
To put it simply, a Lash Lift is increasing the appearance of length and altering the curl of the natural lashes - with the optional stage of tinting to darken them for a bold outcome - and finishing off with some nourishment to keep the lashes beautiful and healthy. You can find this treatment under other names such as LVL lashes, lash lamination or eyelash perm.
This lash curling treatment may sound easy to do, and while it may be for some, there are very important aspects to always remember in order to perform a safe treatment and achieve amazing results time and time again. A Lash Lift follows various steps with different solutions to achieve the perfect lift and outcome. Each step should be followed as recommended by the manufacturer and cutting corners or doing the steps out of order can result in poor lifting or damage to the natural eyelashes.
To help you get the best out of an eyelash lift treatment and stand out from other Lash Salons, we’ve put together our Top 3 tips for an amazing Lash Lift treatment. We also take a look at what you should include within your professional lash lift kit.
How To Do A Lash Lift
1. Use The Correct Shield Size
When choosing the correct size of the silicone shield, you should always take into consideration the length of the client's natural eyelashes, as well as their eye shape (you can use different ranges of silicone shields, for example: InLei® Only and Only 1) and the final effect you would like to achieve. To ensure that you choose the correct size, the lashes should cover around 70/80% of the silicone shield. Read more about InLei® Lash Shields in our in depth guide!

If the natural lashes cover less than 70/80% of the shield, choose a smaller size. If the eyelashes cover more than that - choose a larger size. This way you will ensure that all lashes are fitted on the shield correctly and evenly, and you don’t end up with strange kinks in the lashes.
2. Lash Alignment
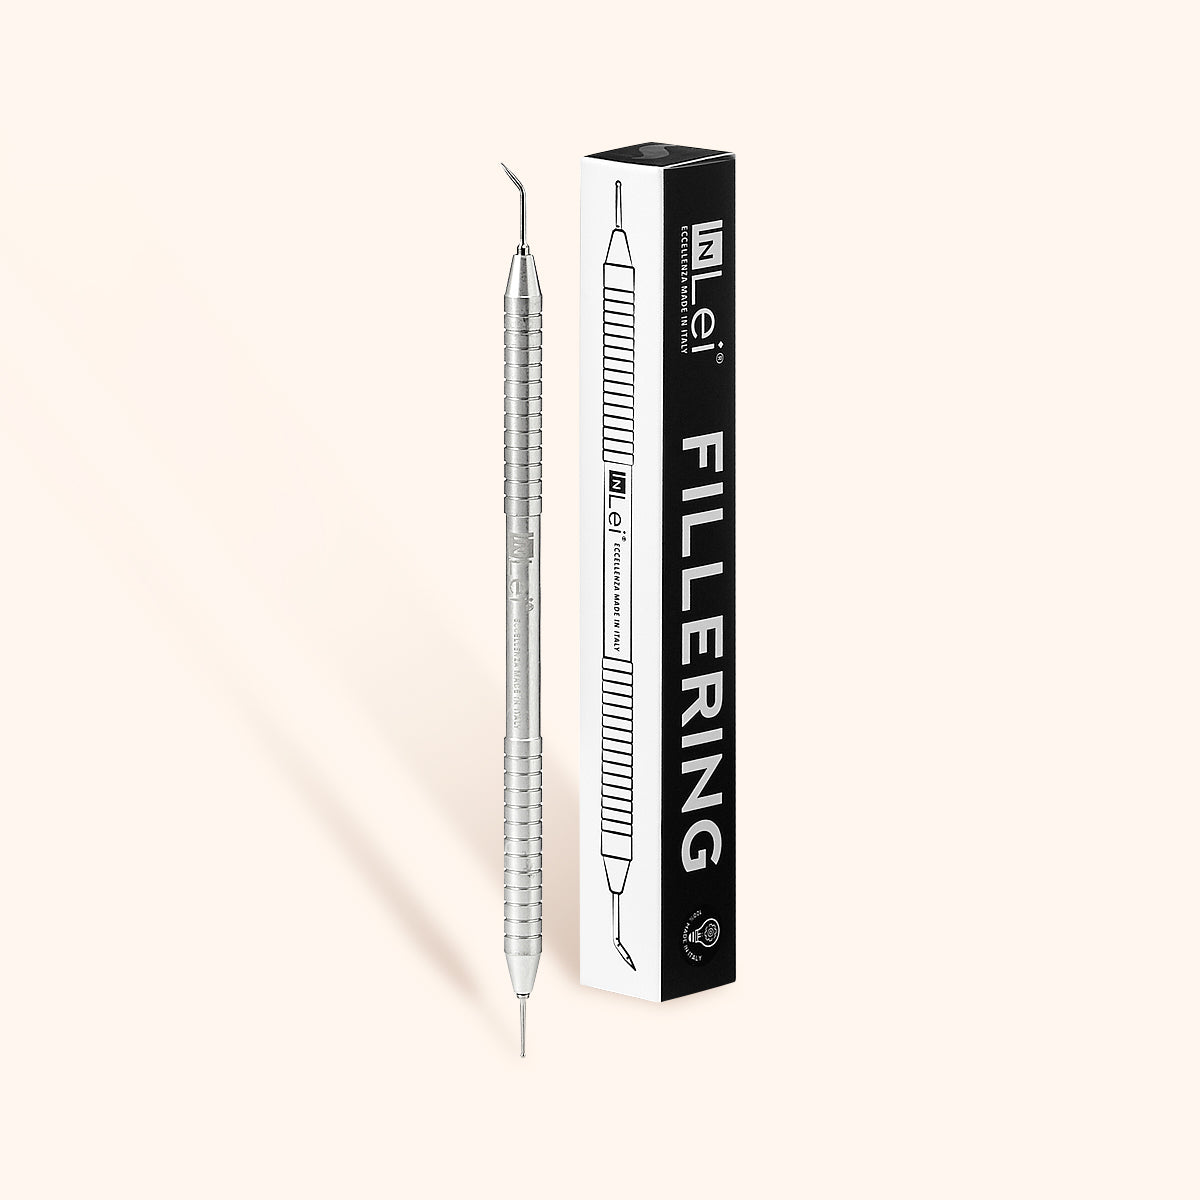
One of the most important steps of the Lash Filler lash treatment is the alignment of the lashes on the silicone shields. Remember, the way you lift the lashes and stick them to the shield at this step of the treatment is the way they will look like as the final result. Take your time and precisely lift all the lashes - carefully lift each lash at a 90 degree angle and avoid criss-crossed lashes - using both the Fillering Tool and a Helper Tool will allow you to perfectly isolate every single lash.
If you struggle with alignment, work with smaller sections of lashes first - this will give you enough time to lift the lashes before the Fixing Gel dries out. If you’re not happy with the way lashes are laying, you can still correct them at this stage - simply dip a Micro Brush or a cotton bud in water, and dissolve the Fixing Gel from that section. Brush the lashes through to remove the excess of glue and start again.

3. Product Placement
In order to create a perfect lash lamination, don’t forget about the product placement. If you apply too little of the product or you don’t apply it evenly, your results may not be satisfactory. Don’t be afraid to put on a little too much product - lashes will only absorb what they need. Focus on the precision of your application and use a professional Brush to ensure all lashes are covered evenly. Apply the product close to the roots, but not on them (around 1-2mm away), and cover a maximum of ¾ of the lash length - products should never be applied to the tips as it can cause damage, and will impact the finished look of your treatment.

What Should My Professional Lash Lift Kit Include?
When preparing to offer the Lash Lift treatment, you will of course need to ensure that you have the correct supplies in order to carry out the procedure. Some of the main items within your professional lash lift kit should include:
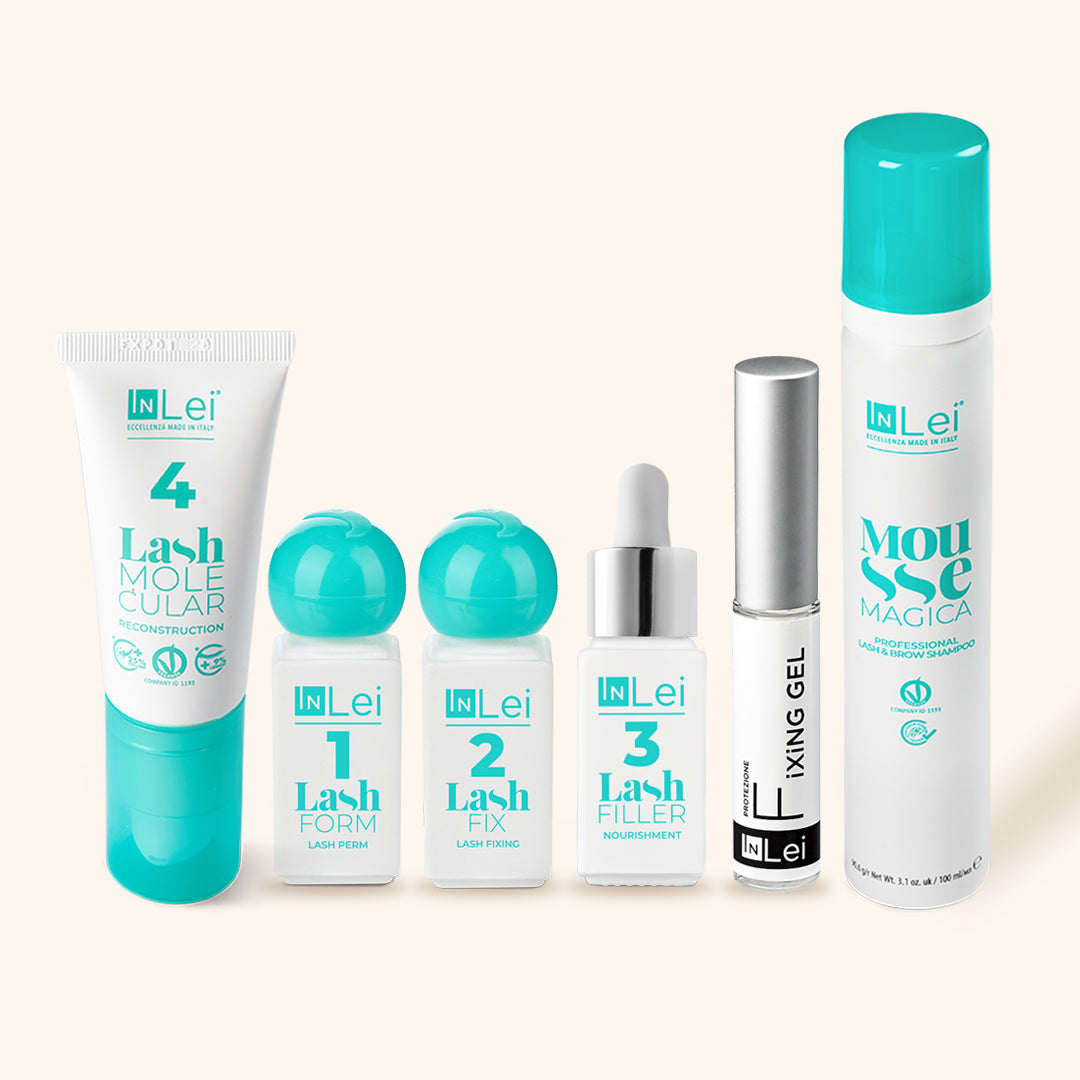
- Lash Cleanser - As with any professional lash treatment, a high quality pre-treatment cleanser is essential to get rid of any impurities on the lashes.
- Silicone Shields - As previously mentioned, these come in a range of sizes.
- Fillering Tool and a Helper Tool - To isolate each lash evenly.
- Lash Brush - To apply the solution to the lashes.
- Fixing Gel - To keep the lifted lashes in place.
-
Lash Lift Solutions - Follow each step for the perfect lift.
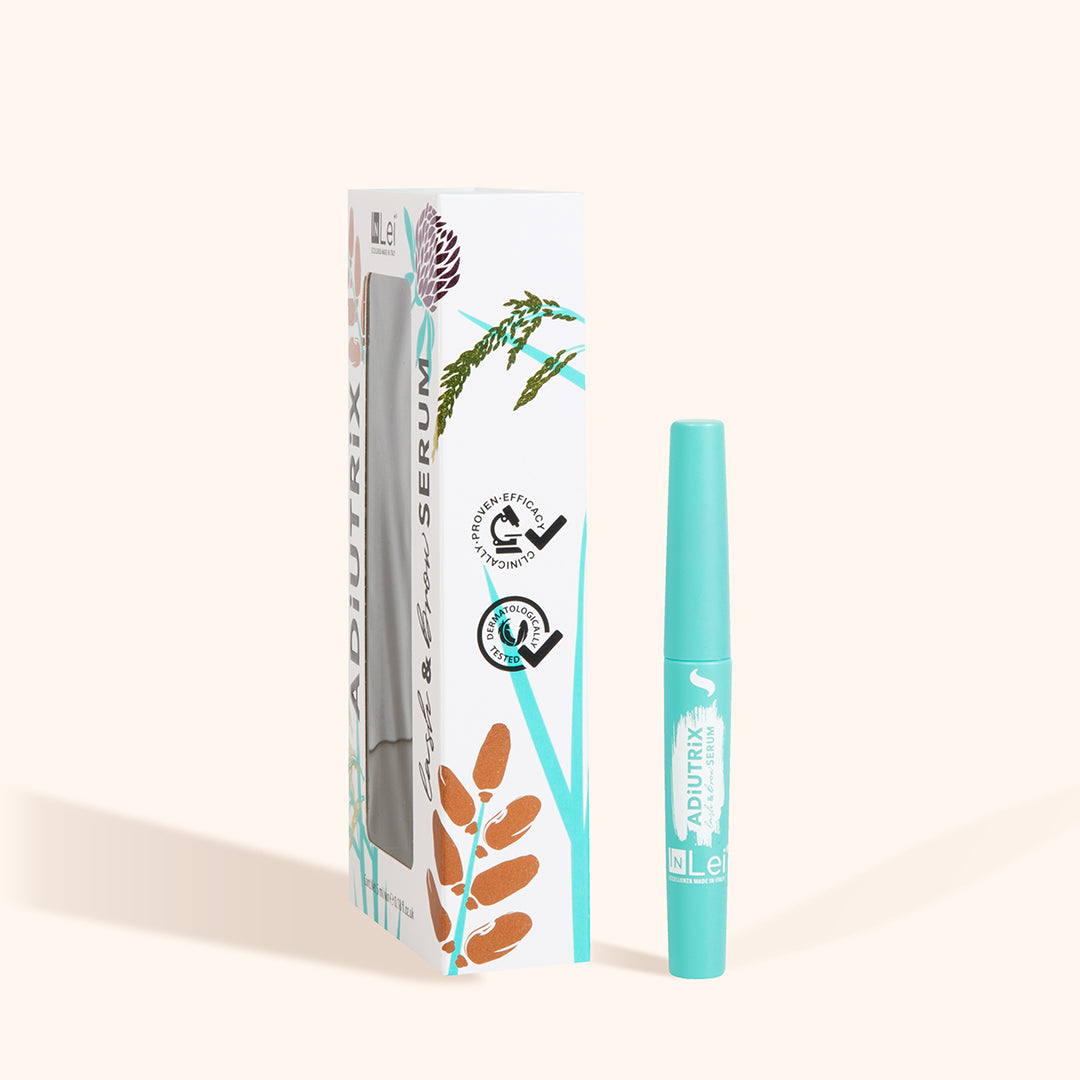
- Aftercare Products - To nourish the lashes after treatment.
From the moment Lash Lifts were introduced, they became an instant classic - a staple trend in the eyelash beauty world - they open the eyes and enhance a person’s most important features in a subtle and effortlessly stylish way. Adding Lash Lifts to your repertoire is something of an essential, and we hope these tips made your job a little bit easier with our guide.
Check out these featured products